First of all, the pros & cons of this kind of makeup.
Pros:
+ It looks great in photos
+ It pretty much makes anyone look fobby & cute? I don't know haha
Cons:
- It takes a long time to do if you are new to it
- It's hard to maintain if you have oily skin
- It might clog your pores if you don't wash your face well
Umm that's all I can think of for now haha.
The things I used, basically my personal recommendations:
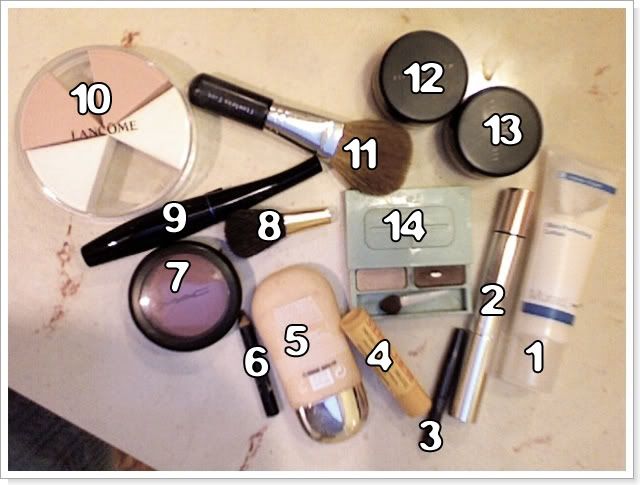
1. Murad Skin Perfecting Lotion: I use it prep my face before makeup because it leaves my skin as a smooth base for foundation to go on.
2. Victoria's Secret Very Voluptuous lip gloss in baby pink: it doesn't plump/sting much, which is good cause I have Lip Injection for that haha. I love the baby pink color it gives
3. Shiseido Eyebrow Pencil: It's light and doesn't look harsh with my skin tone
4. Burt's Beeswax: I'm addicted! I use it before lipgloss and just throughout the day.
5. Biotherm Sense Matte foundation in #120 SPF 15: I find that Biotherm's foundation works best with my skin, doesn't clog it up, and I don't even need concealer under :]
6. Eyeliner: I usually use VOV eyeliner.. It's double sided and it twists up so I don't have to sharpen it. But I ran out so right now I'm using NYX black eyeliner.
7. Mac blush: I forgot the color but I like the way it looks on my skin, with or without a ton of makeup on :] It's a very natural flush
8. Estee Lauder Brush: I accidentally dropped it and the brush handle broke off, but I still use the brush haha.
9. Lancome Waterproff Mascara: Very waterproof.. Very hard to get off haha.
10. Lancome Makeup Sponges: Soft and already cut up
11. Bare Minerals Brush: It's one of the best I've used!
12. Bare Minerals face color in Warmth: The only bronzer I use :]
13. Bare Minerals powder foundation in Light: It's SPF 15 and great for setting makeup after you're done.
14. Clinique duo eyeshadows in Like Mink: I love the two. I use the lighter one for under my eye and the darker one for on top of my eye.
01. Start with a clean fresh face.
Wash your face and hands and make sure they're clean clean clean :] Never touch your face with dirty hands =[ That's how you get acne a lot of the time!
I use Murad Clarifying Cleanser to wash my face when I shower, right before I put on makeup (if that's not right after my shower), and right before sleeptime.
02. Moisturizer
Put on moisturizer, not a little but quite a bit.. like you're putting lotion on dry legs. But don't use lotion!! Moisturizer, NOT lotion haha.
This is important because you will be using foundation, which gets cakey and looks dry and gross without a moisturizer under.
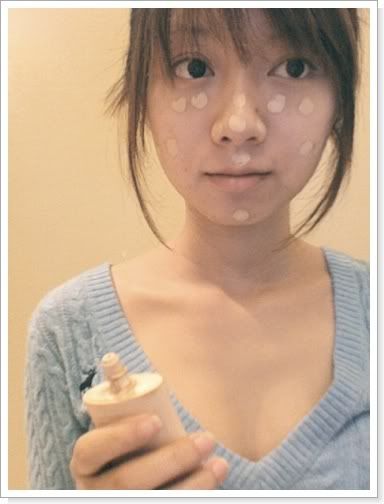
03. Putting on foundation
Squeeze foundation from the tube, bottle, or pump (or whatever you have) into the palm of your hand. Dip your index finger into the foundation and put dots of foundation on your face, redipping when necessary. I put two dots under both my eyes, one on my chin, two on my cheeks, one on the bridge of my nose, one on each side of my nose, and about four across my forehead.
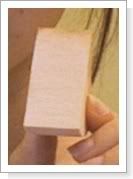
04. Smoothing out the foundation.
Using a sponge, start with the one side of your face. Start with the two dots under your eyes. Smooth and spread them out, blending from inside to outside in a sweeping motion. Don't try to force the foundation into your skin, do it gently ^^. Always change your sponges, because bacteria gathers on them and can give you acne =/
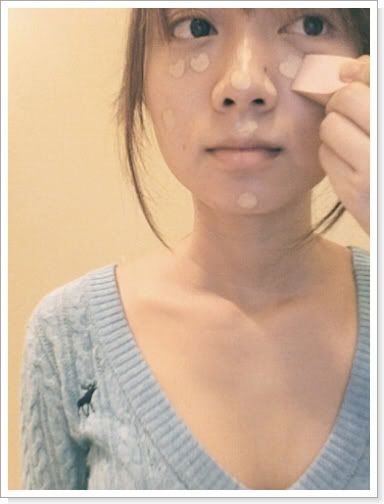
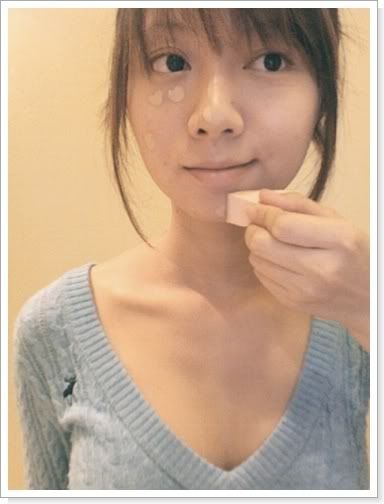
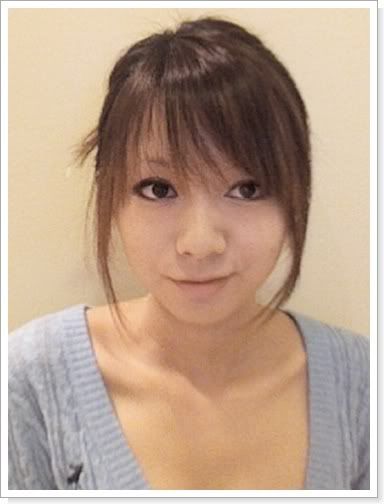
This is what you should look like after foundation:

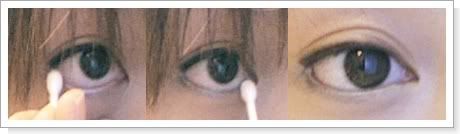
05. Eyeliner
Lightly pull the skin on the outer corner of your eyelid toward your temple, so your eye looks stretched out. Taking a sharpened pencil eyeliner, go from outside to inside, but stop at the center of your eye. In other words, don't draw the eyeliner all the way to the other corner! Now use the same eyeliner pencil and draw on your waterline, both top and bottom (basically on bottom, it's right before your eyelashes start). Your eye should look like the last picture when done.
 Reduced: 98% of original size [ 650 x 127 ] - Click to view full image
This is what you should look like after eyeliner:

06. Under Eye Shadow
Using a q-tip, swipe on some light shimmery pastel color. Now be very careful, and draw it where you drew the eyeliner on the bottom of your eye. Now the eyeliner on bottom (on your bottm waterline) should look barely visible, covered by the shimmery light color.
I prefer a peachy, neutral tone, but sometimes I switch it up with shimmery white eyeliner instead ^^
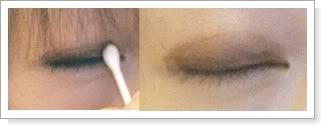
07. Eyeshadow
Using another q-tip, swipe on some dark brown eyeshadow. Put it all over your lid, but only don't go over the crease. It will cover some of your original eyeliner, but you should still be able to see it. It should look like the second picture when done.
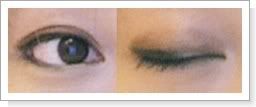
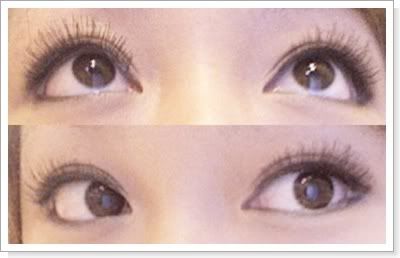
08. Eyeliner on top and bottom again
Follow step 5 for top eyeliner (draw from outside to inside, stopping at center). On bottom, draw OUTSIDE where the shimmery eyeshadow went, not OVER the eyeshadow.
Reduced: 98% of original size [ 650 x 121 ] - Click to view full image
09. Mascara and more eyeliner haha
Swipe mascara on both both and top lashes, taking care to not stab your eye o-o. Curl the top lashes. Take the eyeliner pencil again, and this time drag the liner out slightly on top and turn up when you reach the corner (making a VERY small winged tip). Now on the bottom, draw where the eyeliner is and drag it up to meet the upper wing.
10. Falsies
Take your favorite pair of false eyelashes and put glue on them. Put them on as you would normally, making sure it's close to the inner corner of your eye so it doesn't look like you don't have eyelashes there. A lot of people put it too much towards the outside and it makes it look like they're missing lashes in the inner corner of their eyes o-o.
You should look like this after all the eyeliner and shadow and falsies:
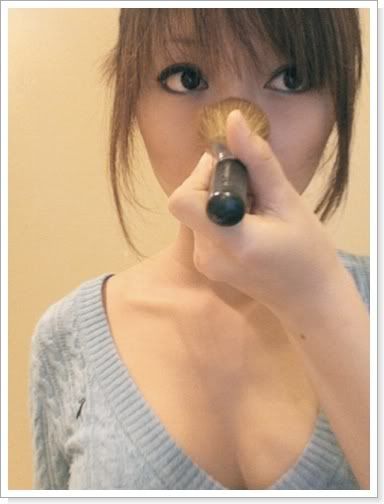
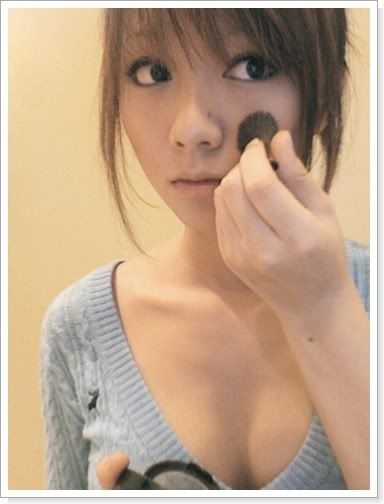
11. Bronzer
Dip a big flat-ish brush into the bronzer, and blow on it to blow off the excess. Suck in your cheeks so you can see where the hallows of your cheeks are, and fill that in, going in an upward-towards-your-temple direction. Make sure this isn't too much.. It takes practice because at first you might put on too much.
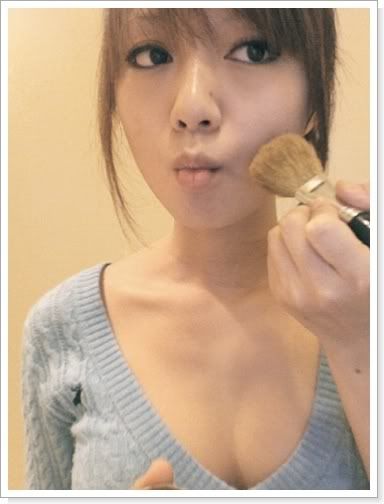
Dip the brush into bronzer again, and blow off excess. Go over the bridge of your nose with it.
12. Blush
Take a blush brush and dip it into brush, swirling slightly. Dust off excess in your hand, and brush it in a circular motion where the apples of you cheeks are. (Again, don't put on too much).
13. Lips
Go over your lips with Burt's Beeswax (it's my favorite chapstick haha). Then go over that with your favorite baby pink lip gloss.

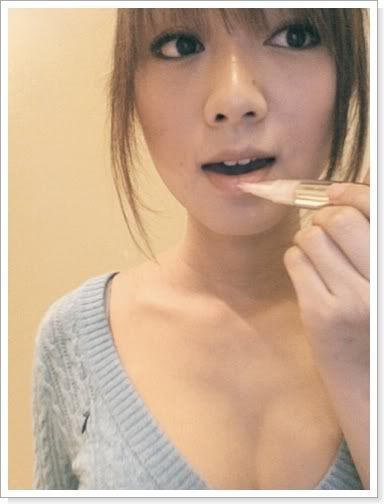
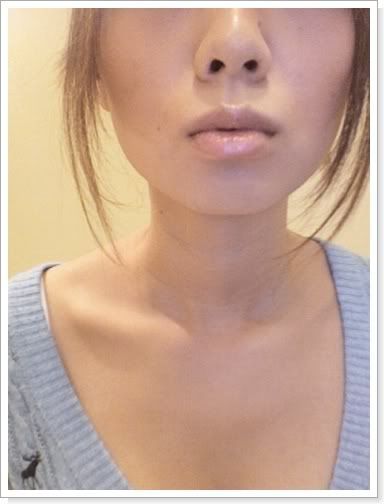
Your lips should look like this when done:
I drew in my eyebrows with an eyebrow pencil because I have naturally light brows, but some of you girls probably have really nice & dark natural ones, and because everyone has differently shaped eyebrows, I'm not even going to begin with a tutorial on that haha.
Some girls even prefer to put in Circle lenses, as it makes their eyes appear even bigger.
Mine expired so I no longer wear them =[... So this will have to do for now haha.
And.. You're finished!
Put on your favorite accessories, get dressed, & go out & have fun


Tidak ada komentar :
Posting Komentar